Software whitelisting and blacklisting
Software inventory status Rules
Organizations can choose between a soft and a Detailed software policy. The Soft policy, which is selected by default, creates issues only on software that is blacklisted. The detailed policy, on the other hand, requires that every software has been whitelisted, otherwise a software issue is created. Software issues are created for each software item that is incompetent. This is often referred to simply as blacklist vs whitelist policy, although those terms have fallen out of favor due to political sensitivity. Allow list vs block list is considered more sensitive terminology.
Nanitor supports all the below-listed software status rules:
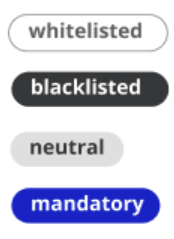
Whitelisted(Approved/Allowed): Where an organization requires the full list of every software that is approved. It is indicated in the white color code.
Blacklisted (Banned/Blocked): Where software policies specifically prohibit for some reason. It is indicated in the Black color code.
Mandatory(Required): Software that must be installed. And this rule is only available in the Software Title section. It is indicated in the Blue color code.
Neutral: A software that has no rules applied and a default rule for every software. It is indicated in the Grey color code.
If the status rules are mixed looks as below,
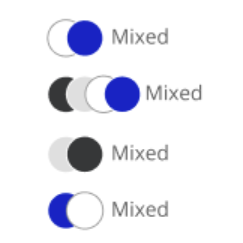
These indications of a rule do not depend on child rules.
Setting the Organization Software Policy.
To view and change the Organization Software Policy:
1. Under Nanitor Administration - Organization Management - Settings:
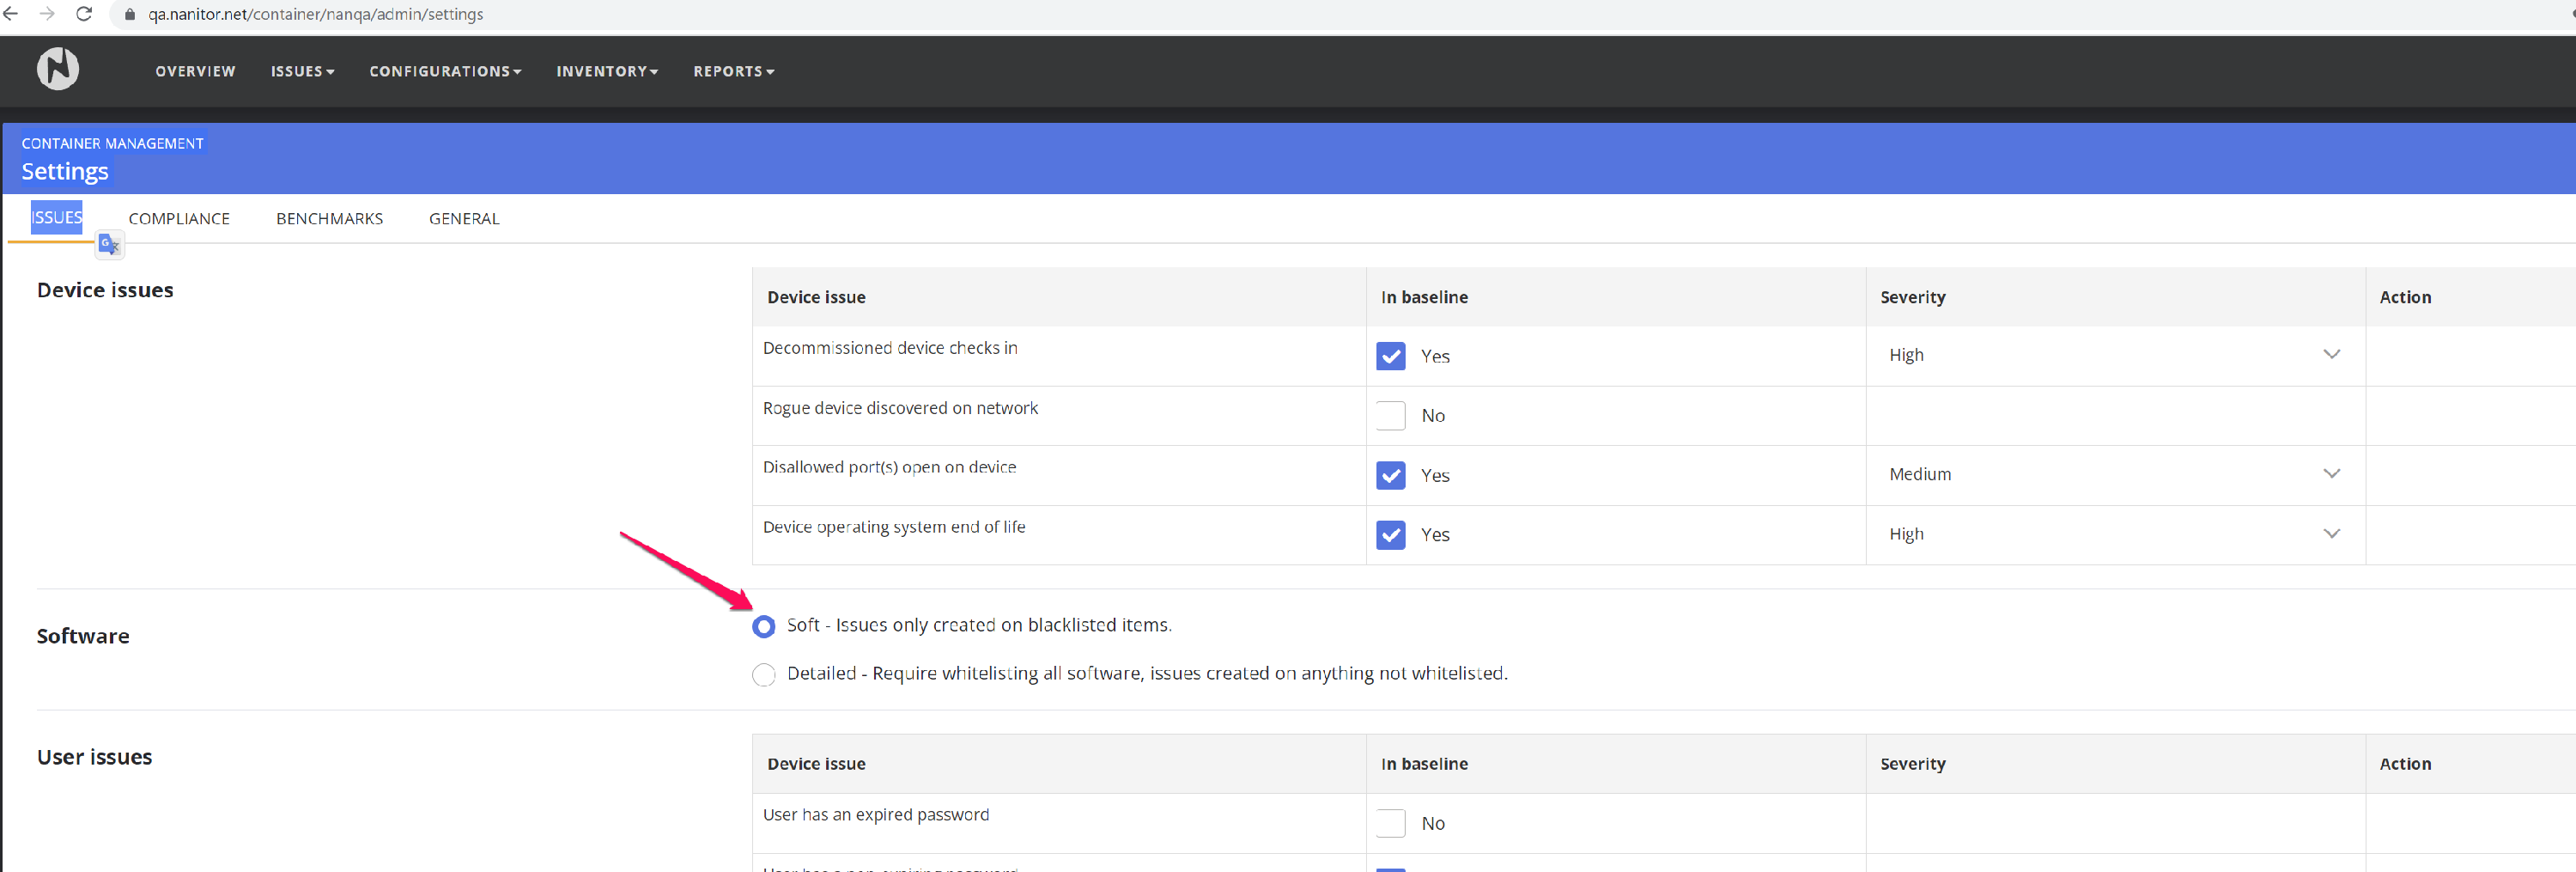
Changing to "Detailed" and saving will create issues for all software items in the Inventory that have not been whitelisted explicitly, either by version, software title, or vendor.
Creating Whitelisted Rules
Whitelisting and blacklisting can be done by, from most generic to more specific:
Example: Whitelist all software under vendor "Adobe Systems Incorporated"
-
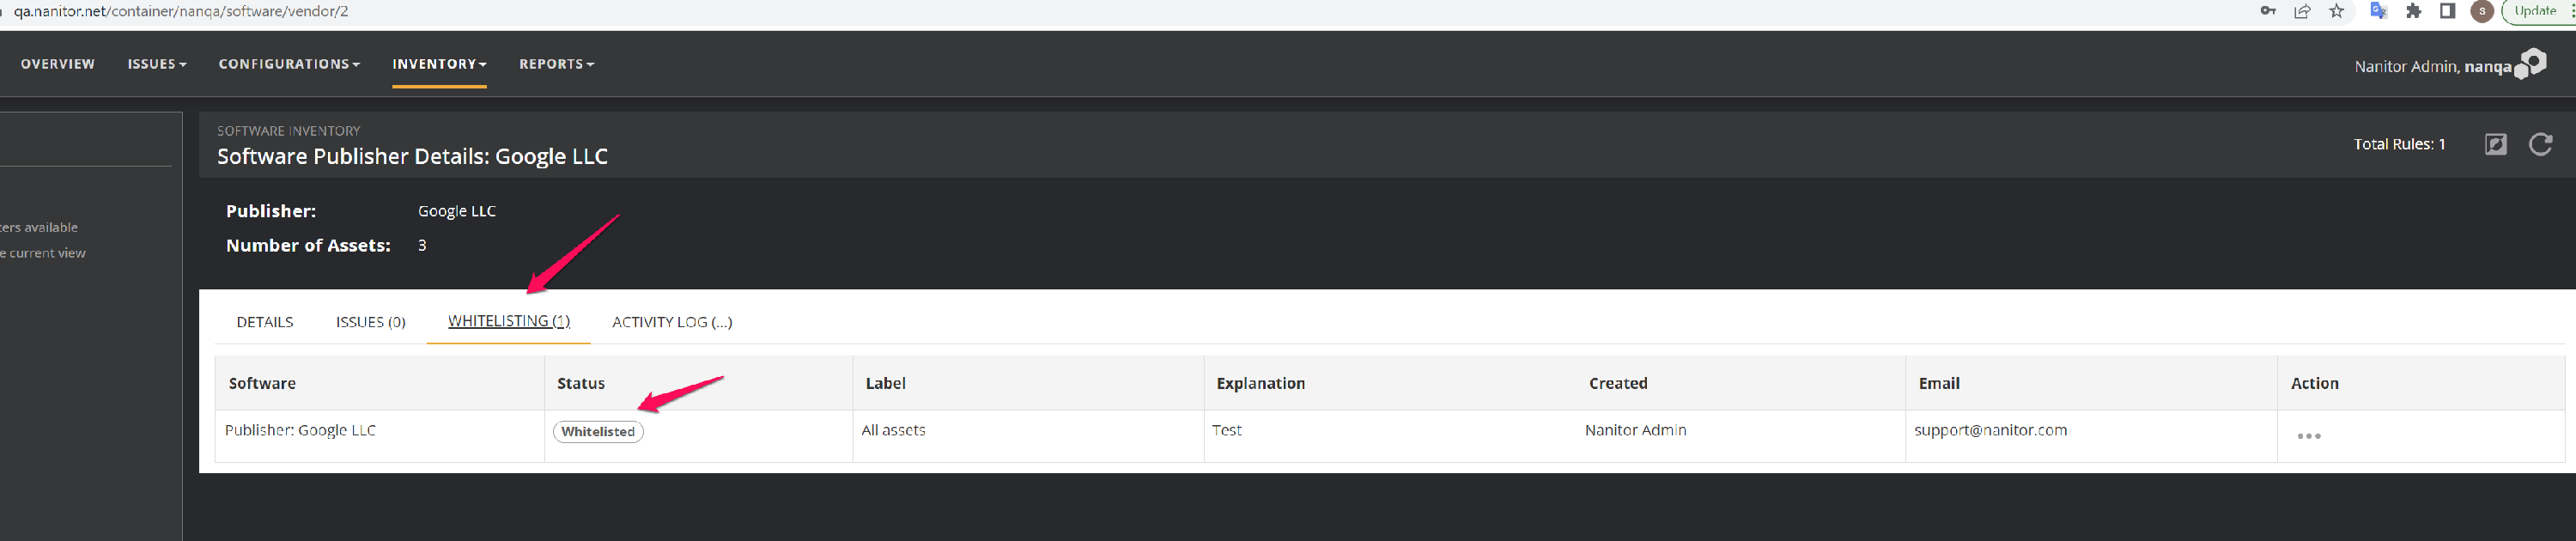
Click on the Publisher name: "Google LLC" to go into the Software publisher detail.
-
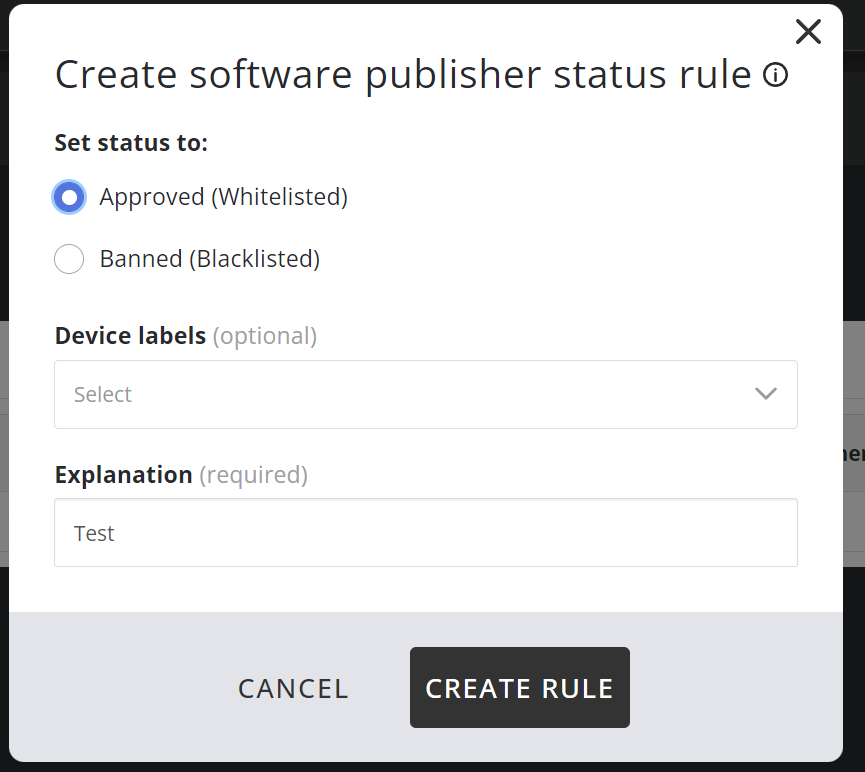
In Software publisher detail: Click the Change whitelisting state button in the upper right corner. Fill in the information in the popup dialog and click confirm to create the rule.
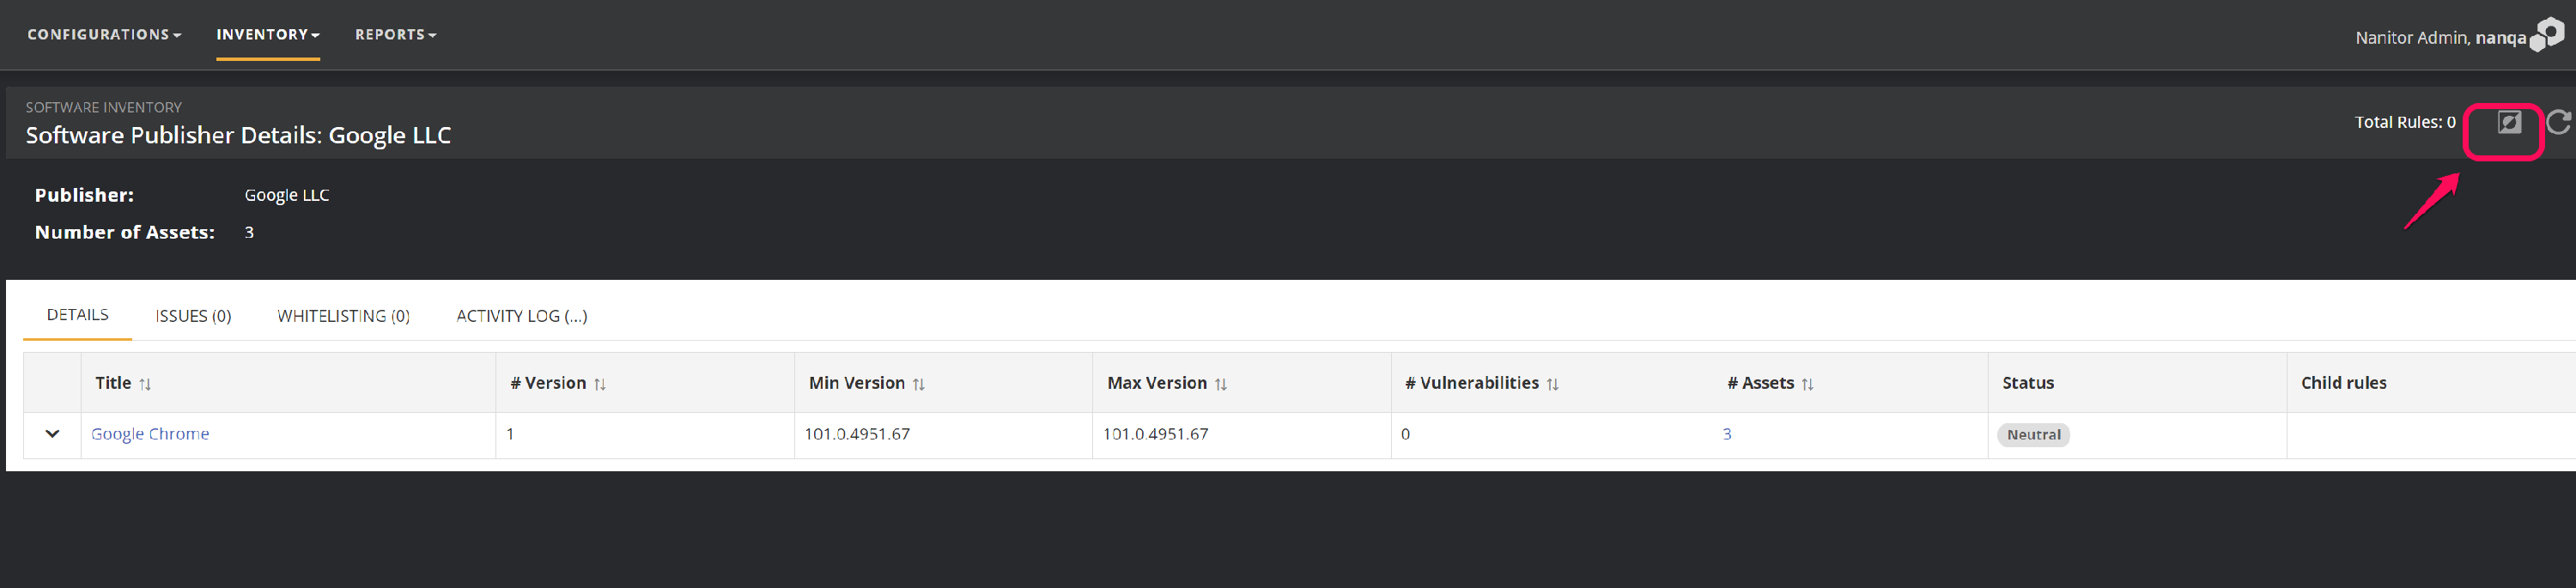
The whitelisted rule then shows up as:
 The same procedure goes for 'Blacklisting' the status rule.