Authorizing/unauthorizing rogue assets
By default, unmonitored assets discovered through network discovery are added to Nanitor as rogue assets. However, not all unmonitored assets are necessarily rogue (office printers for example), and marking legitimate assets as such is not ideal.
To prevent legitimate assets to be marked as rogue assets they can be authorized, marking them as legitimate assets.
After a rogue asset has been authorized, the authorization can be revoked again by unauthorizing the asset.
Step-by-step: Rogue asset authorization
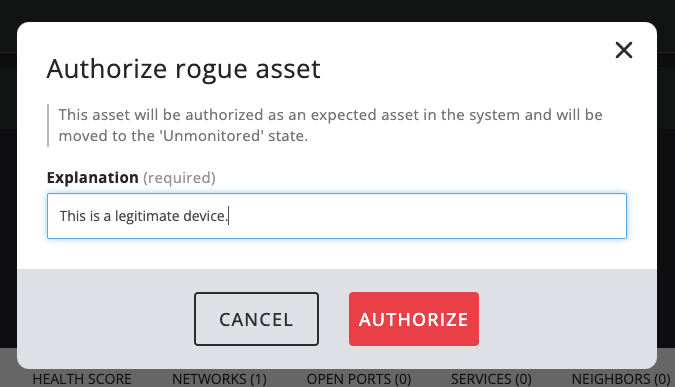
To authorize a rogue asset in Nanitor, you need to:
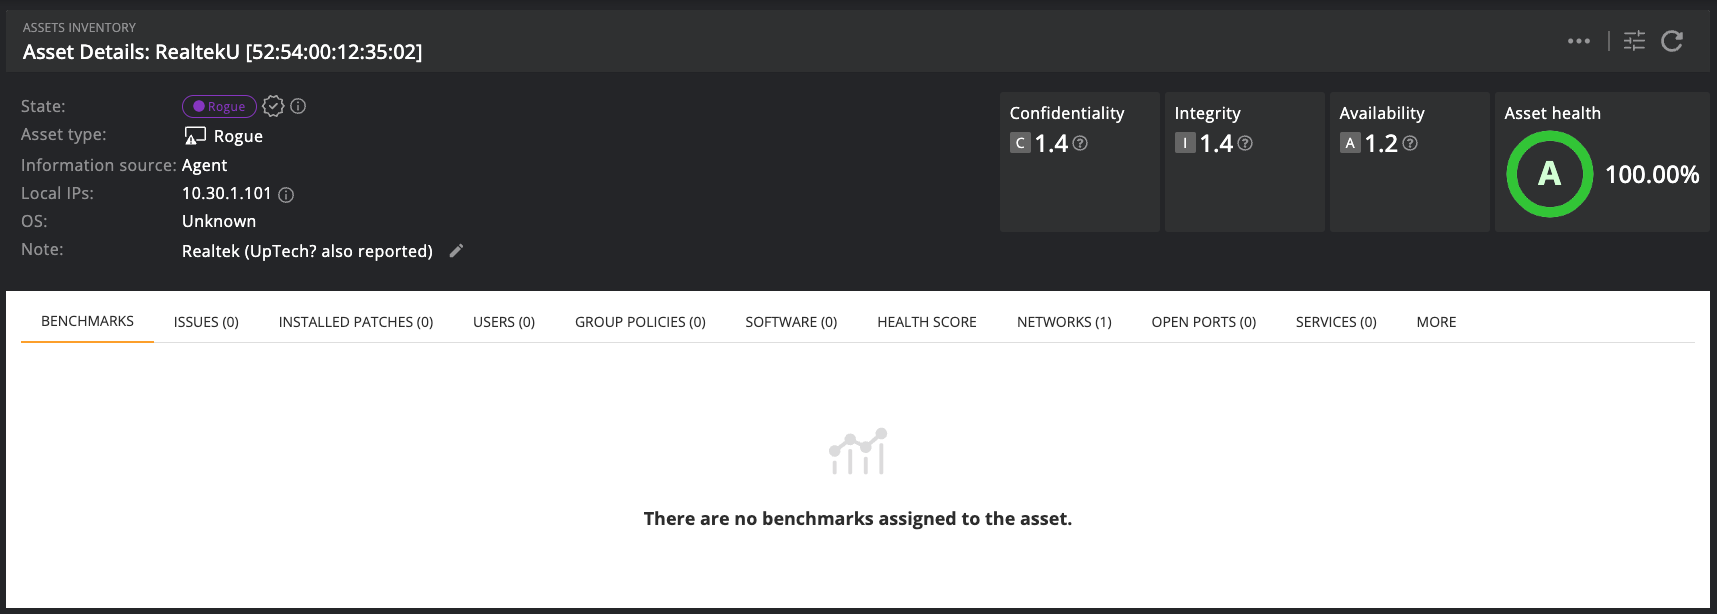
1 Go to the Asset detail page for the Asset to be authorized.
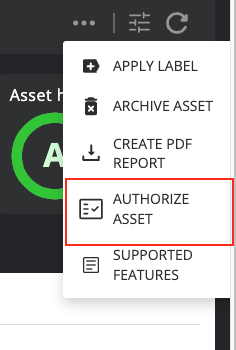
2 Click the Authorize asset in the assets action menu.
3 Enter an explanation for why the asset is being authorized and click "Authorize" at which point the asset will be authorized and moved to the Unmonitored state.
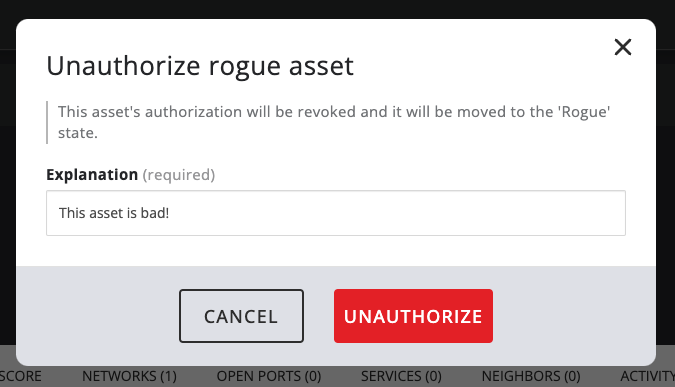
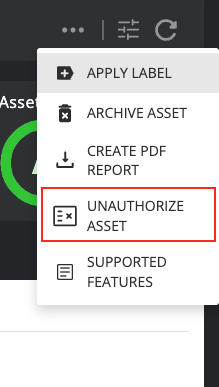
Step-by-step: Rogue asset unauthorization
To unauthorize a rogue asset in Nanitor, you need to:
1 Go to the Asset detail page for the Asset to be unauthorized.

2 Click the Unauthorize asset in the assets action menu.
3 Enter an explanation for why the asset is being unauthorized and click "Unauthorize" at which point the asset will be unauthorized and return to the Rogue state.