Agent Auto Update Process
Introduction
Our agent has the ability to keep itself updated, you can have the agent do so automatically as soon as a new agent is available, or only after you authorize it. For details on how to authorize an agent upgrade if auto-upgrading is disabled, which is the default (see below on how it is enabled), see the Upgrade the Nanitor Agent Nanitor Knowledgebase article.
Enable Auto Upgrade
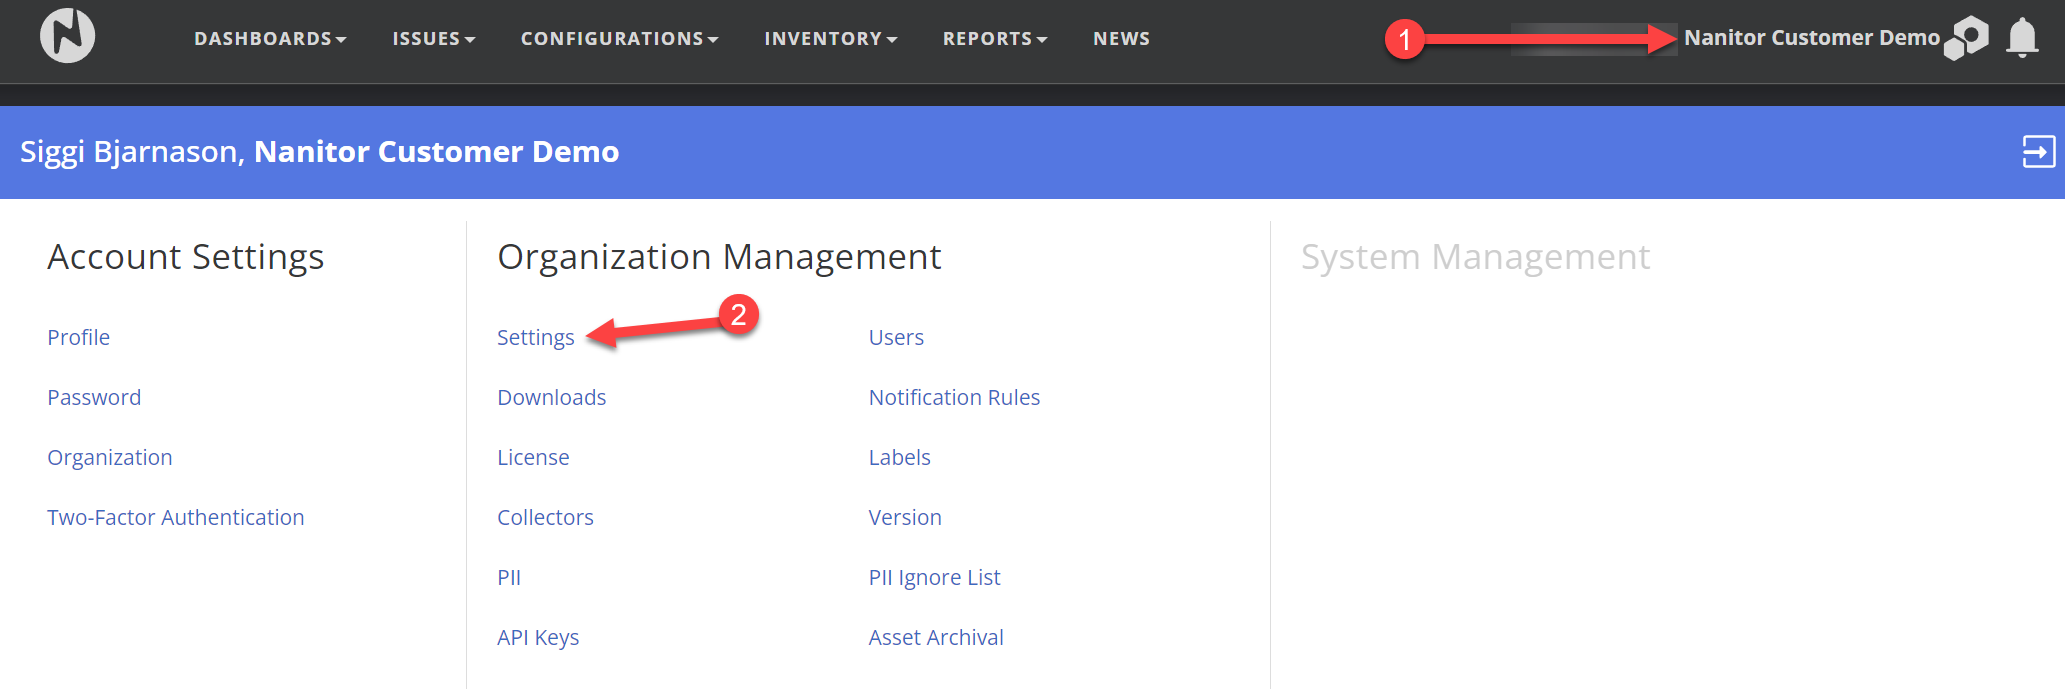
Start by going into the Organization Management settings
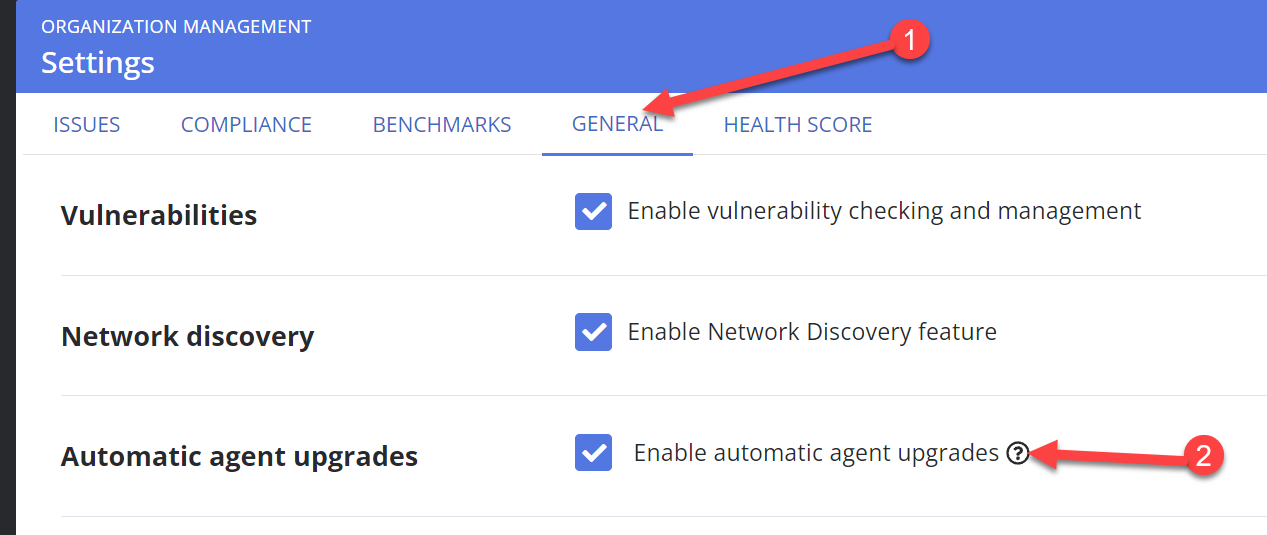
Then go to the general tab and find "Automatic agent upgrades" settings. Check mark means the automatic upgrade is enabled, empty means it is disabled
How Auto Upgrade works
When the agent checks in with the system it will get details about the latest agent version available on the system along with a flag indicating if it is authorized to upgrade as needed. This flag is always set when the automatic agent upgrade is enabled, otherwise, it is set after the upgrade has been requested according to the Upgrade the Nanitor Agent Nanitor Knowledgebase article.
The agent will take this version information and compare it against its current version. If it finds that it is outdated and that it is authorized to upgrade it will put an upgrade on its to-do list.
Next time it runs its regularly scheduled maintenance tasks and upgrade is one of the tasks on its to-do list it will contact the server for download instructions. The agent then verifies that those instructions are properly signed then downloads the new agents, checks the checksum against the checksum in the signed instructions, and installs it into a new version directory. Finally, it will attempt to restart itself into this new version.