How do I enable SAML login / log into Nanitor with Microsoft Azure Active Directory?
Instead of creating users within Nanitor’s system, it is possible to use external authentication that supports SAML 2.0, such as Microsoft’s Azure Active Directory. (Further detailed steps for Azure AD below.)
Configure Nanitor to use SAML
To integrate a SAML identity provider with Nanitor, you will need to download your Nanitor instance's service provider metadata XML file, configure your identity provider for Nanitor's service provider by importing or entering the information from that file, then import the identity provider's own metadata file into Nanitor and create the appropriate permissions in your organizations. (For instructions specific to Azure AD, see below).
Downloading Nanitor's SAML service provider metadata
As a Nanitor system admin, you can download Nanitor’s service provider metadata file from the admin interface. To do that, go to Admin > SAML Identity Providers and click Download service provider metadata:
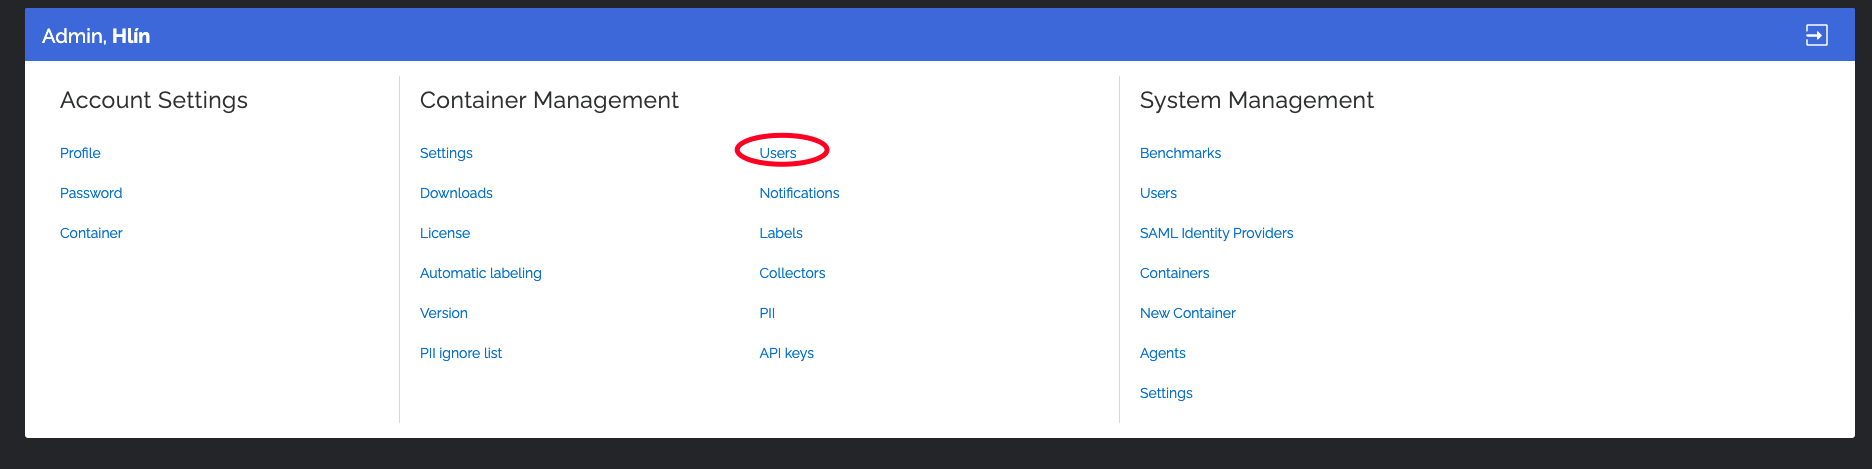
- Click the admin link in the top right corner of the Nanitor application.
 2. Find the SAML Identity Providers link in the right-side column, under System Management.
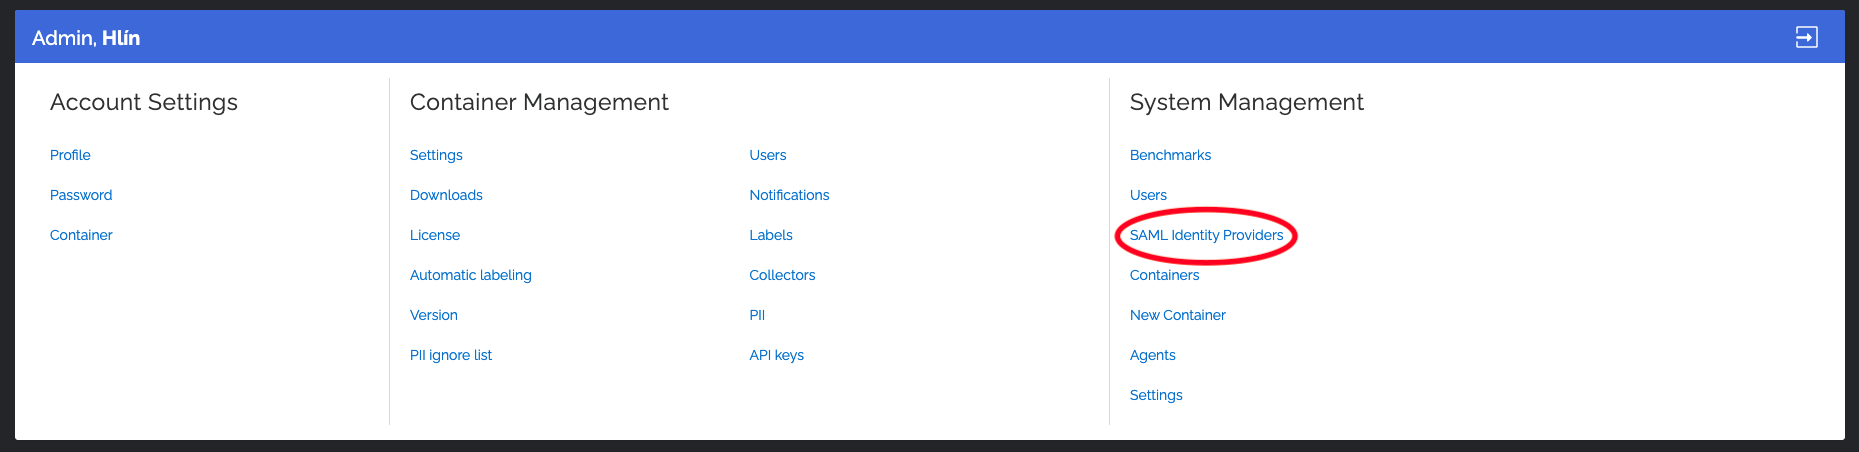 3. Near the top right, click the Download service provider metadata button.
4.
3. Near the top right, click the Download service provider metadata button.
4. 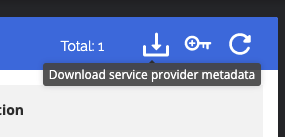
This will prompt your browser to download the service provider metadata XML file. You will need this XML file to configure your identity provider to work with Nanitor.
Configuring your identity provider for Nanitor
Your identity provider should provide instructions for creating a new SAML integration. If possible, find an option to upload a service provider metadata XML file, and upload the service provider metadata file you downloaded from Nanitor there. This should automatically configure the identity provider to work with your Nanitor instance. For instructions specific to Azure AD, see below.
If the identity provider does not provide a metadata upload option, you may have to enter the values provided in the metadata file manually into the service provider configuration. This may require some technical knowledge. The important values are:
- Entity ID: Your Nanitor instance's entity ID is located in the entityID attribute of the EntityDescriptor and will look something like urn:nanitor:f5256a68-9d55-42ce-9bea-f37b63ad5540.
- Single Sign-On URL: This will be the Location attribute of the AssertionConsumerService element and will be a URL ending in /account/saml/signin.
- Certificate: You will need to turn on encryption and provide the certificate given in the X509Certificate element of the service provider metadata.
The username format (NameID) should be an e-mail address.
If your identity provider allows you to specify attribute statements, then you will likely want to provide some of the following:
- displayName: A full display name for the user. If provided, this will be used as the name of the user within Nanitor.
- givenName and surname: If no displayName is provided, then Nanitor will pull the givenName and surname if available and use them to construct the name of the user within Nanitor.
- groups: If your identity provider supports group claims, Nanitor supports assigning different permissions based on the groups sent by the identity provider (see below).
Note that for Azure AD specifically, Nanitor will support the default attribute statements and no additional configuration is needed.
Importing your identity provider's metadata into Nanitor
- Find your identity provider’s metadata file. This should be provided in the integration instructions and will usually be an XML file that is either linked or downloadable from the identity provider’s side. (For instructions specific to Azure AD, see below.)
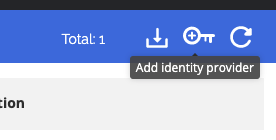
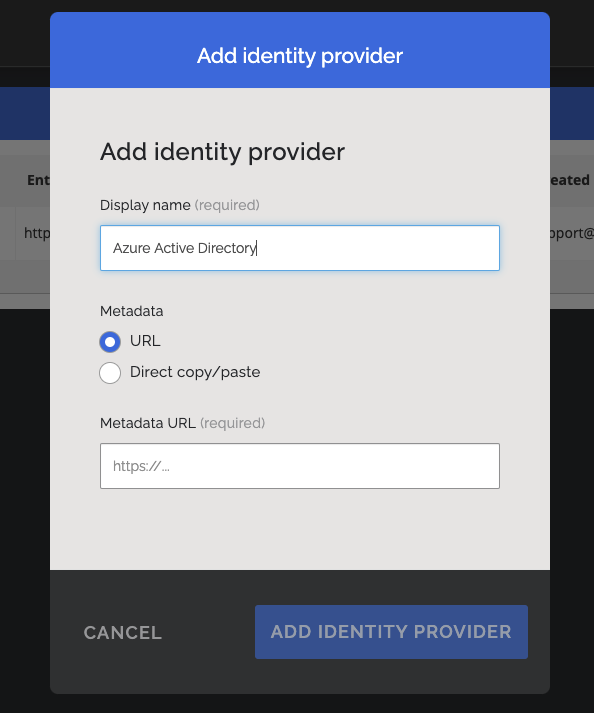
- Click the admin link in the top right corner of the Nanitor application, click the SAML Identity Providers link in the right-side column, and then click the Add identity provider button.
- Enter a name for the identity provider (e.g. “Azure Active Directory”) and either the URL to the identity provider’s metadata file (recommended) or select “Direct copy/paste” and paste the full metadata contents into the box. Click the Add identity provider button to add it. You should see the provider you added appear in the list.
Metadata URL is called App Federation Metadata Url in the Azure Enterprise Application.
Assigning group permissions within Nanitor
- For each organization that authenticated users should get access to, switch to that organization in the admin interface and click
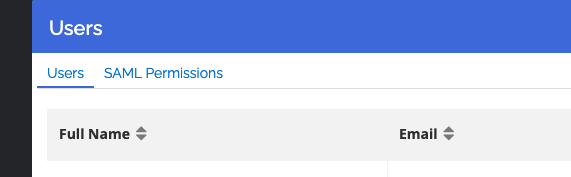
Users under the Organization management column.
- If you have added some identity providers, there should be a tab there beside the Users tab titled SAML Permissions. Click that tab.
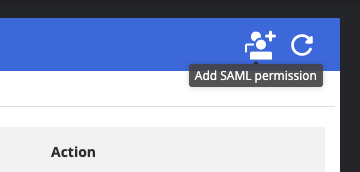
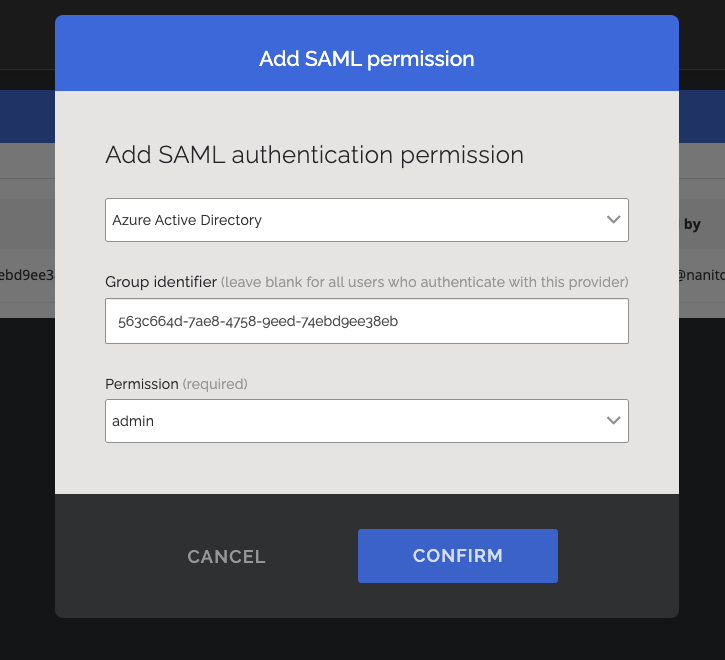
- Near the top right corner, click the Add SAML Permission button.
- Pick the identity provider from the drop-down. If the identity provider provides a groups claim for users, you can enter the identifier for a group here, and then this permission will apply only to users in the given group. (Leave blank for the permission to be applied to all users who authenticate with this identity provider.) Finally, choose a permission in the permission drop-down, either guest or admin, and click the Confirm button. To use groups with Azure Active Directory, [see below]
- [(#azure-ad-groups).
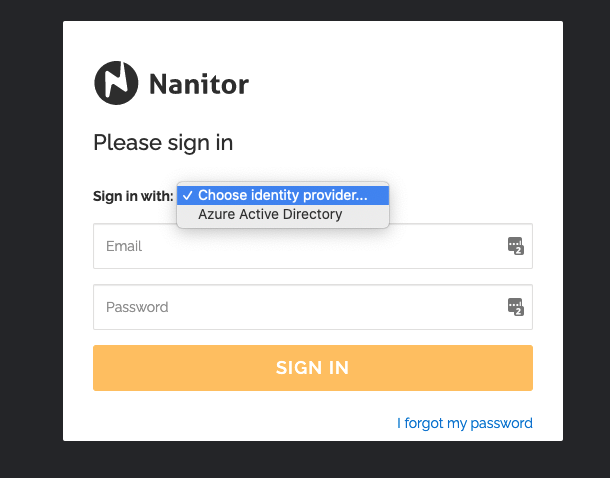
- Now, on the Nanitor login screen, there will be a drop-down menu allowing the user to sign up with the given identity provider rather than with a local username and password. By choosing this option, the user will be redirected to the identity provider, where they can login and be redirected back to the Nanitor interface.
Using Azure Active Directory as your identity provider in Nanitor
Configuring Azure Active Directory to use as your identity provider with your Nanitor instance is simple but takes a few steps. Follow these instructions to create an application for Nanitor and configure it as an identity provider. Other identity providers may involve similar steps.
Registering Nanitor as an application in Azure Active Directory
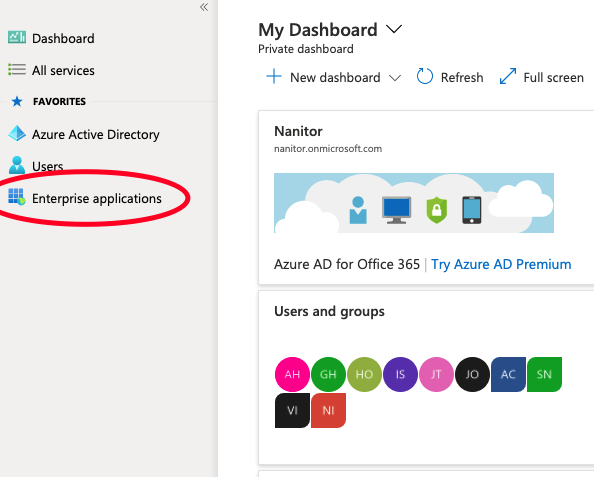
- On your Azure Active Directory dashboard, click the Enterprise applications link on the left-side menu.
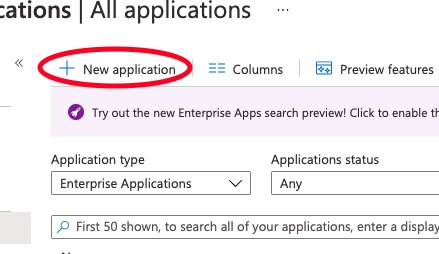
- Click the New application button above the main view.
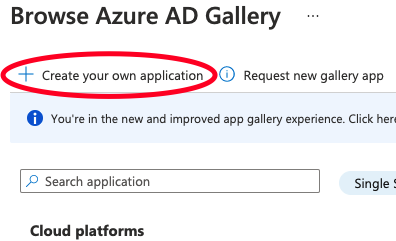
- Click the Create your own application button.
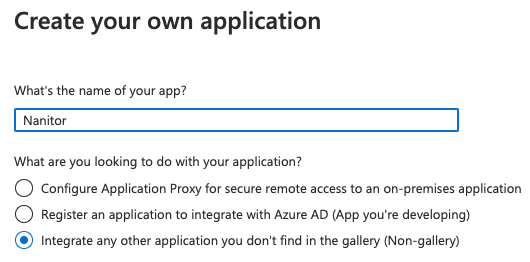
- Type “Nanitor” as the name of the app and select “Integrate any other application you don’t find in the gallery”, then click the Create button.
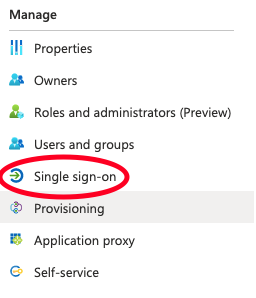
- Once your application has been created, click Single sign-on on the left-side menu.
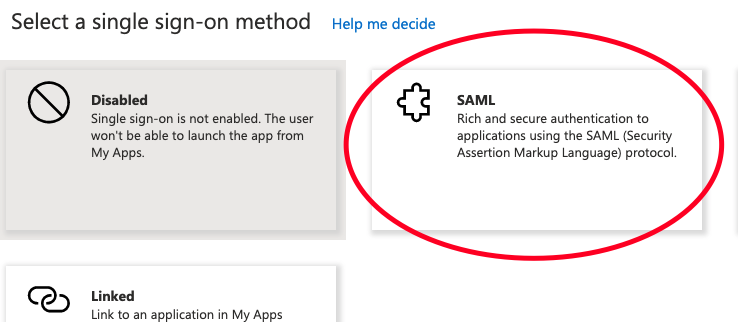
- Select the SAML option.
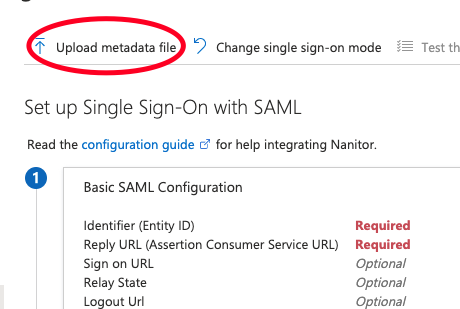
- Click Upload metadata file and select your Nanitor instance’s metadata file that you downloaded from Admin > SAML Identity Providers, then save the settings retrieved from the metadata file.
- Verify that in the Basic SAML Configuration window, the Identifier (Entity ID) value should be populated.
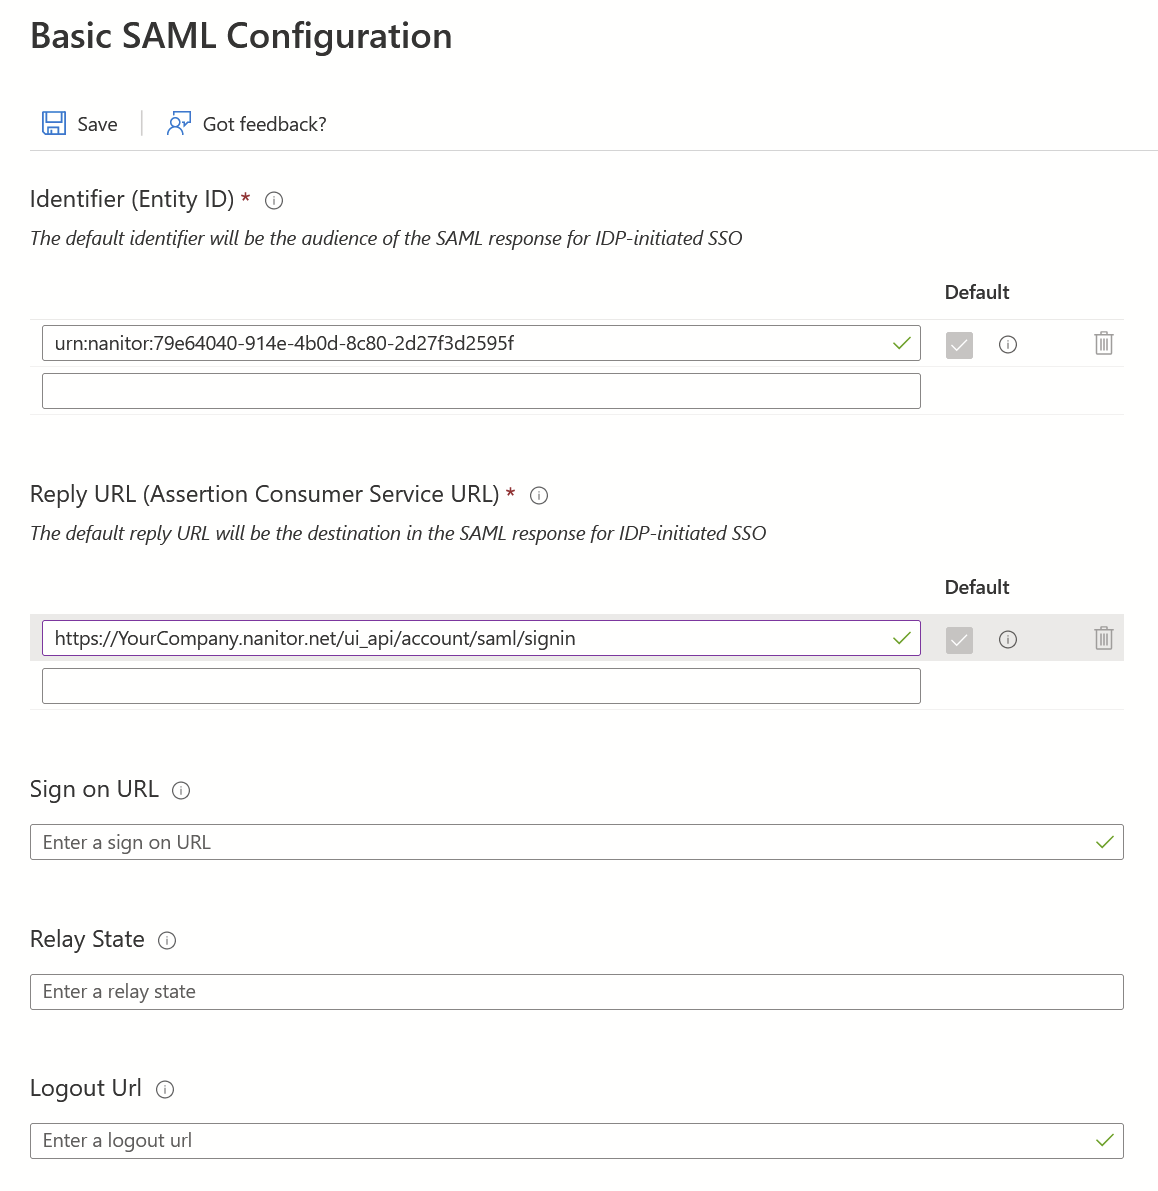 The Reply URL (Assertion Consumer Service URL) should be https://
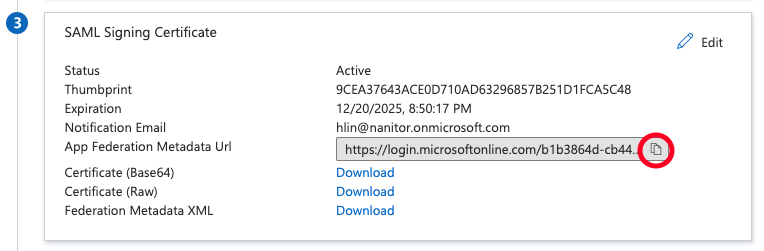
- To retrieve Azure AD’s metadata URL for Nanitor(Nanitor: Admin > SAML Identity Providers > Add Identity Provider > Metadata URL), scroll down to the SAML Signing Certificate section and click the copy button on the “App Federation Metadata Url” box.
- To allow users to log into Nanitor, you must also add those users to the Nanitor application within Azure. Click the Users and Groups link on the sidebar.
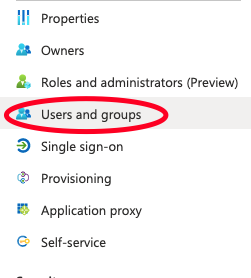
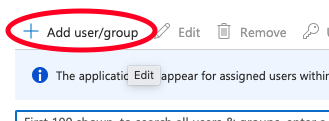
- Now click Add user/group and select the users/groups you want to be able to log into Nanitor.
Using Azure AD Groups with Nanitor
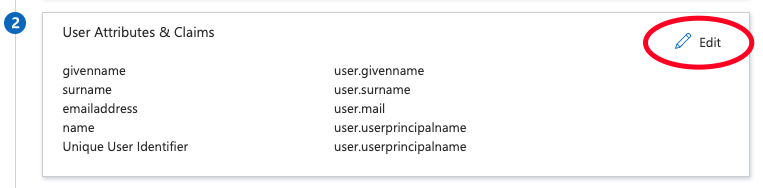
To be able to use Azure Active Directory groups with Nanitor, follow the above steps to register the Nanitor service provider, then click the Edit link on the User Attributes & Claims section.
Click the Add a group claim button near the top of the page.
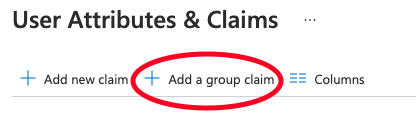
Choose which groups Nanitor should gain access to. Keep the Source attribute as “Group ID”. You do not need to customize the name of the group claim (but assigning it the name groups will work). Press the Save button at the bottom.
Retrieving an Azure AD Group identifier
When assigning SAML permissions within Nanitor, you can assign them for specific groups only. If you have added the group claim as described above, you can use this feature for Azure AD groups.
To find the group identifier for a group, find the group within your Azure AD dashboard and click the copy link on the Object Id box:
