Multi-Tenancy Options
Overview
There are three basic ways to separate out various assets into their own little world, each with its own pros and cons. This article will discuss those approaches so you can make the right choice for your organization.
There can be many reasons why you want to separate a group of assets into their own thing. For example, you might be a large enterprise where each division has ownership and control over their assets or you might be an MSSP managing assets for multiple customers.
As with so many other things, stricter separation comes with bigger management headaches.
Labels
This is the easiest of the solutions but also has the least flexibility and no actual separation. Using this approach you have all the assets in the same inventory and simply label which asset belongs to which group. To read more about labels in Nanitor, check out Labeling Devices - Nanitor Knowledgebase
Benefits of the labeling approach
This is extremely easy to manage and set up. Agent installation is the same for all assets and you're not doing anything differently, beyond just setting up a labeling rule or manually labeling the assets. For most organizations, a labeling rule based on a subnet tends to make this a very simple operation. Then you filter based on the label while working in the portal.
Drawbacks of the labeling approach
Everything is in one bucket and comingled, this could be a big deal for some. Additionally, currently, the system has no way to control access based on the labels (although rumor has it this is about to change), so once you have access to the portal you have access to everyone's assets.
Organizations
Nanitor does offer a Multitenancy option where you can set up multiple organizations on the same server or instance. For many use cases, this is the recommended approach. This allows for a nice separation of assets into unique containers where you can control who has access to which organization. Each user can have access to multiple organizations with a single login and quickly switch between them. The user feels like each organization is its own little Nanitor world. However, there is only one database so there is still some co-mingling going on.
Each organization has its own setup URL (aka license key) so you control which organization an asset goes into by using the right setup URL. This complicates things on one level while simplifies it on another.
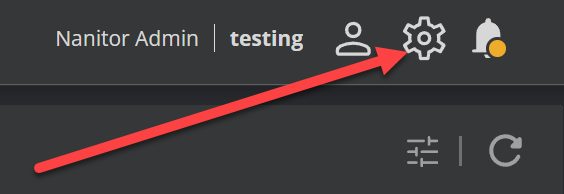
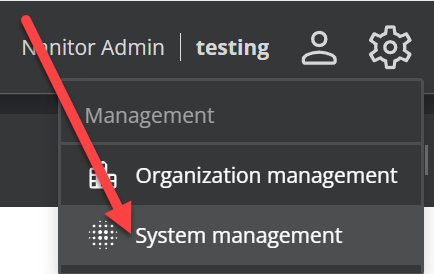
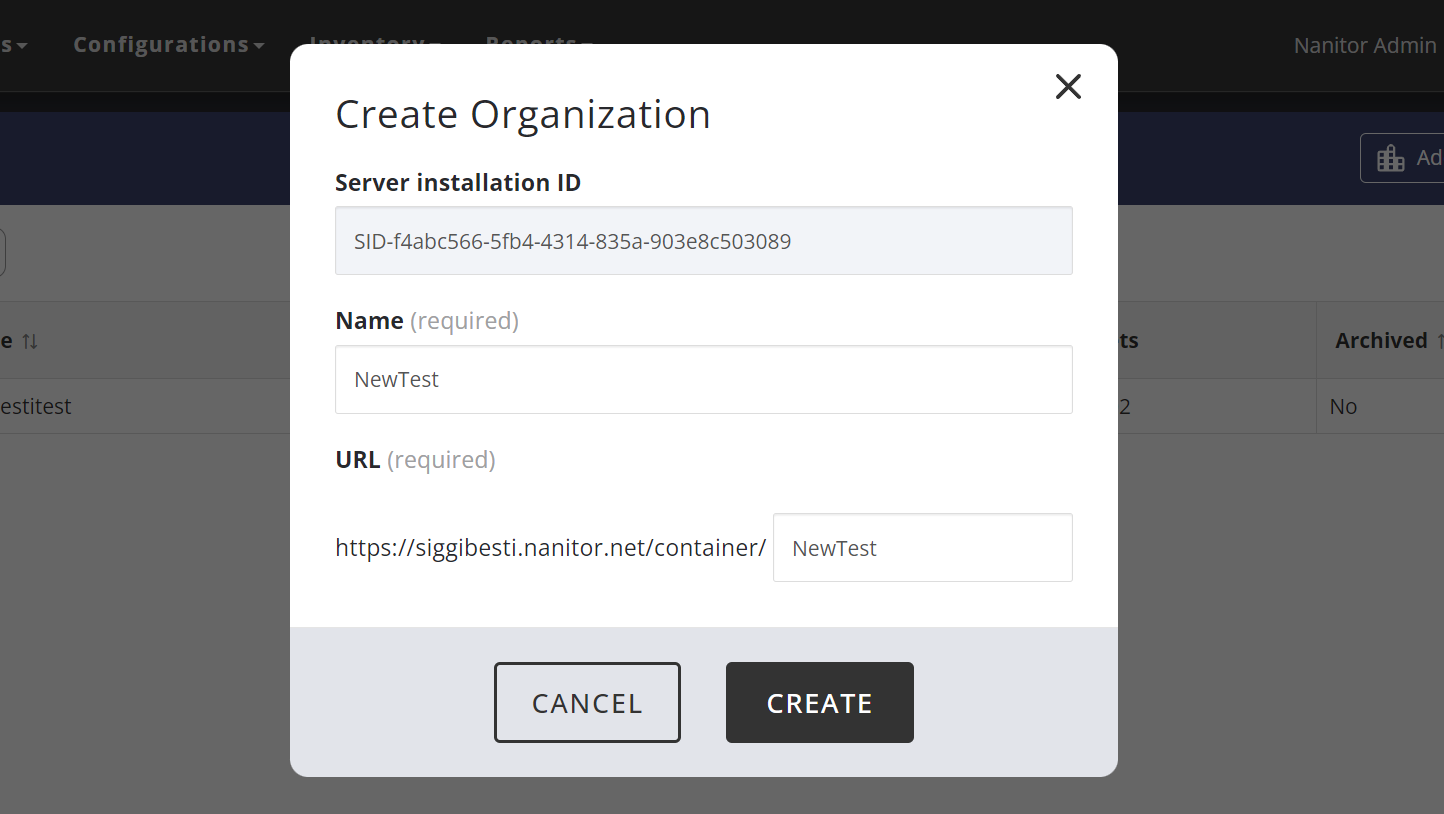
Make sure you are logged in via the system administrative account (often not your normal Nanitor user), then click on the wheel in the upper right-hand corner and select "System management"
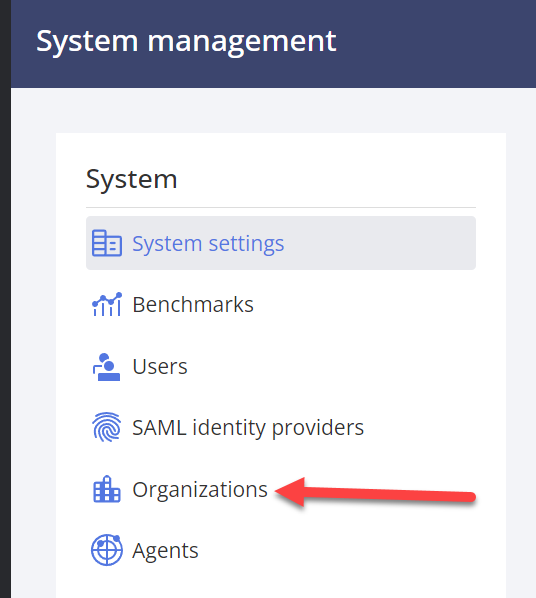
Then click on Organizations
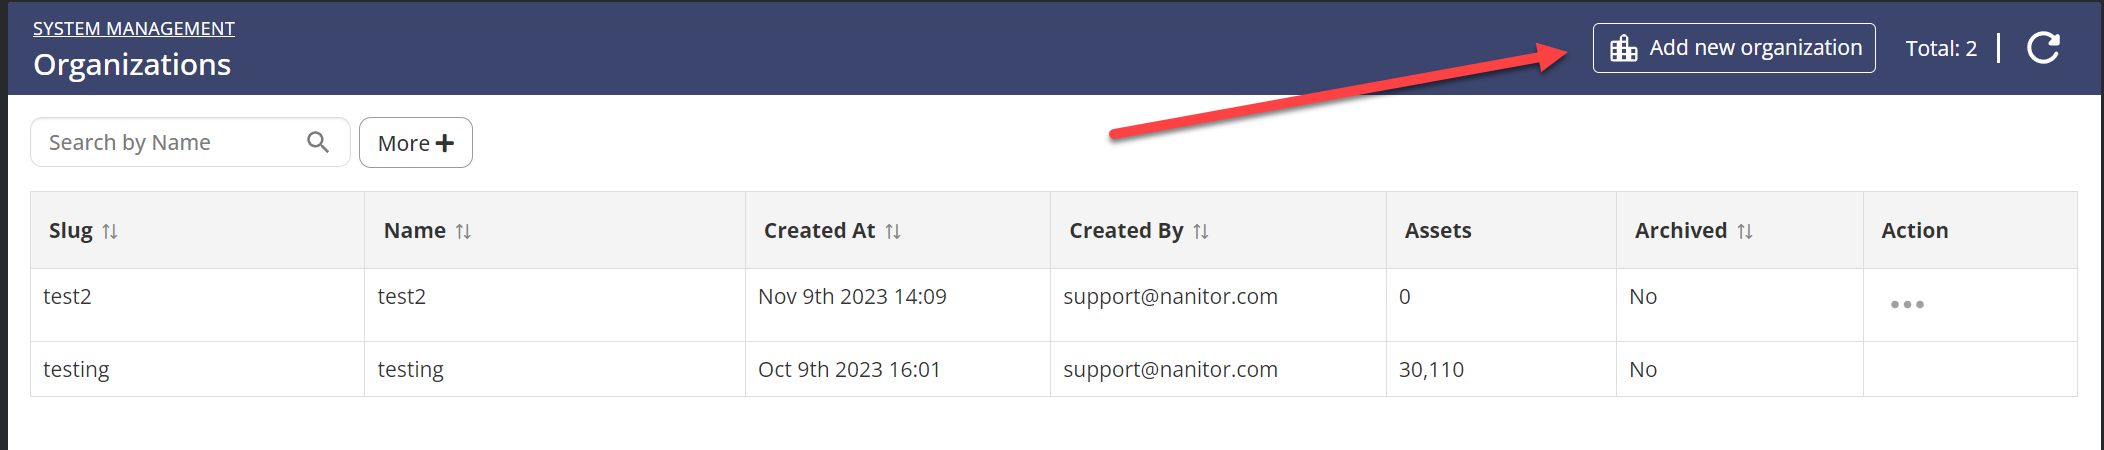
Click to add an organization
Name your new organization (here I named it NewTest) and click create
To switch between organizations, click on the setting wheel again and this time select "Switch organization" and select the desired organization.
Benefits of organizations
You have a nice clean separation between organization/containers and all you have to do is use the right install key. You can control who has access to which organization.
Drawbacks of organizations
You have to switch organizations to work on different organizations, which isn't actually a drawback in many scenarios.
Separate instance
In this approach, you simply purchase a separate server instance for each organization or container, which means separate license, separate contract, etc. This maintains absolute separation between instances, including user information. So if you have 15 containers, you will need 15 server instances with 15 URLs to track and 15 logins for each user that requires access to all instances.
Benefits of separate instances
An absolute separation of backend data and no comingling of any sort.
Drawback of separate instances
Separate URLs and login for each organization which quickly becomes unmanagable.